Relief Prints
Summary
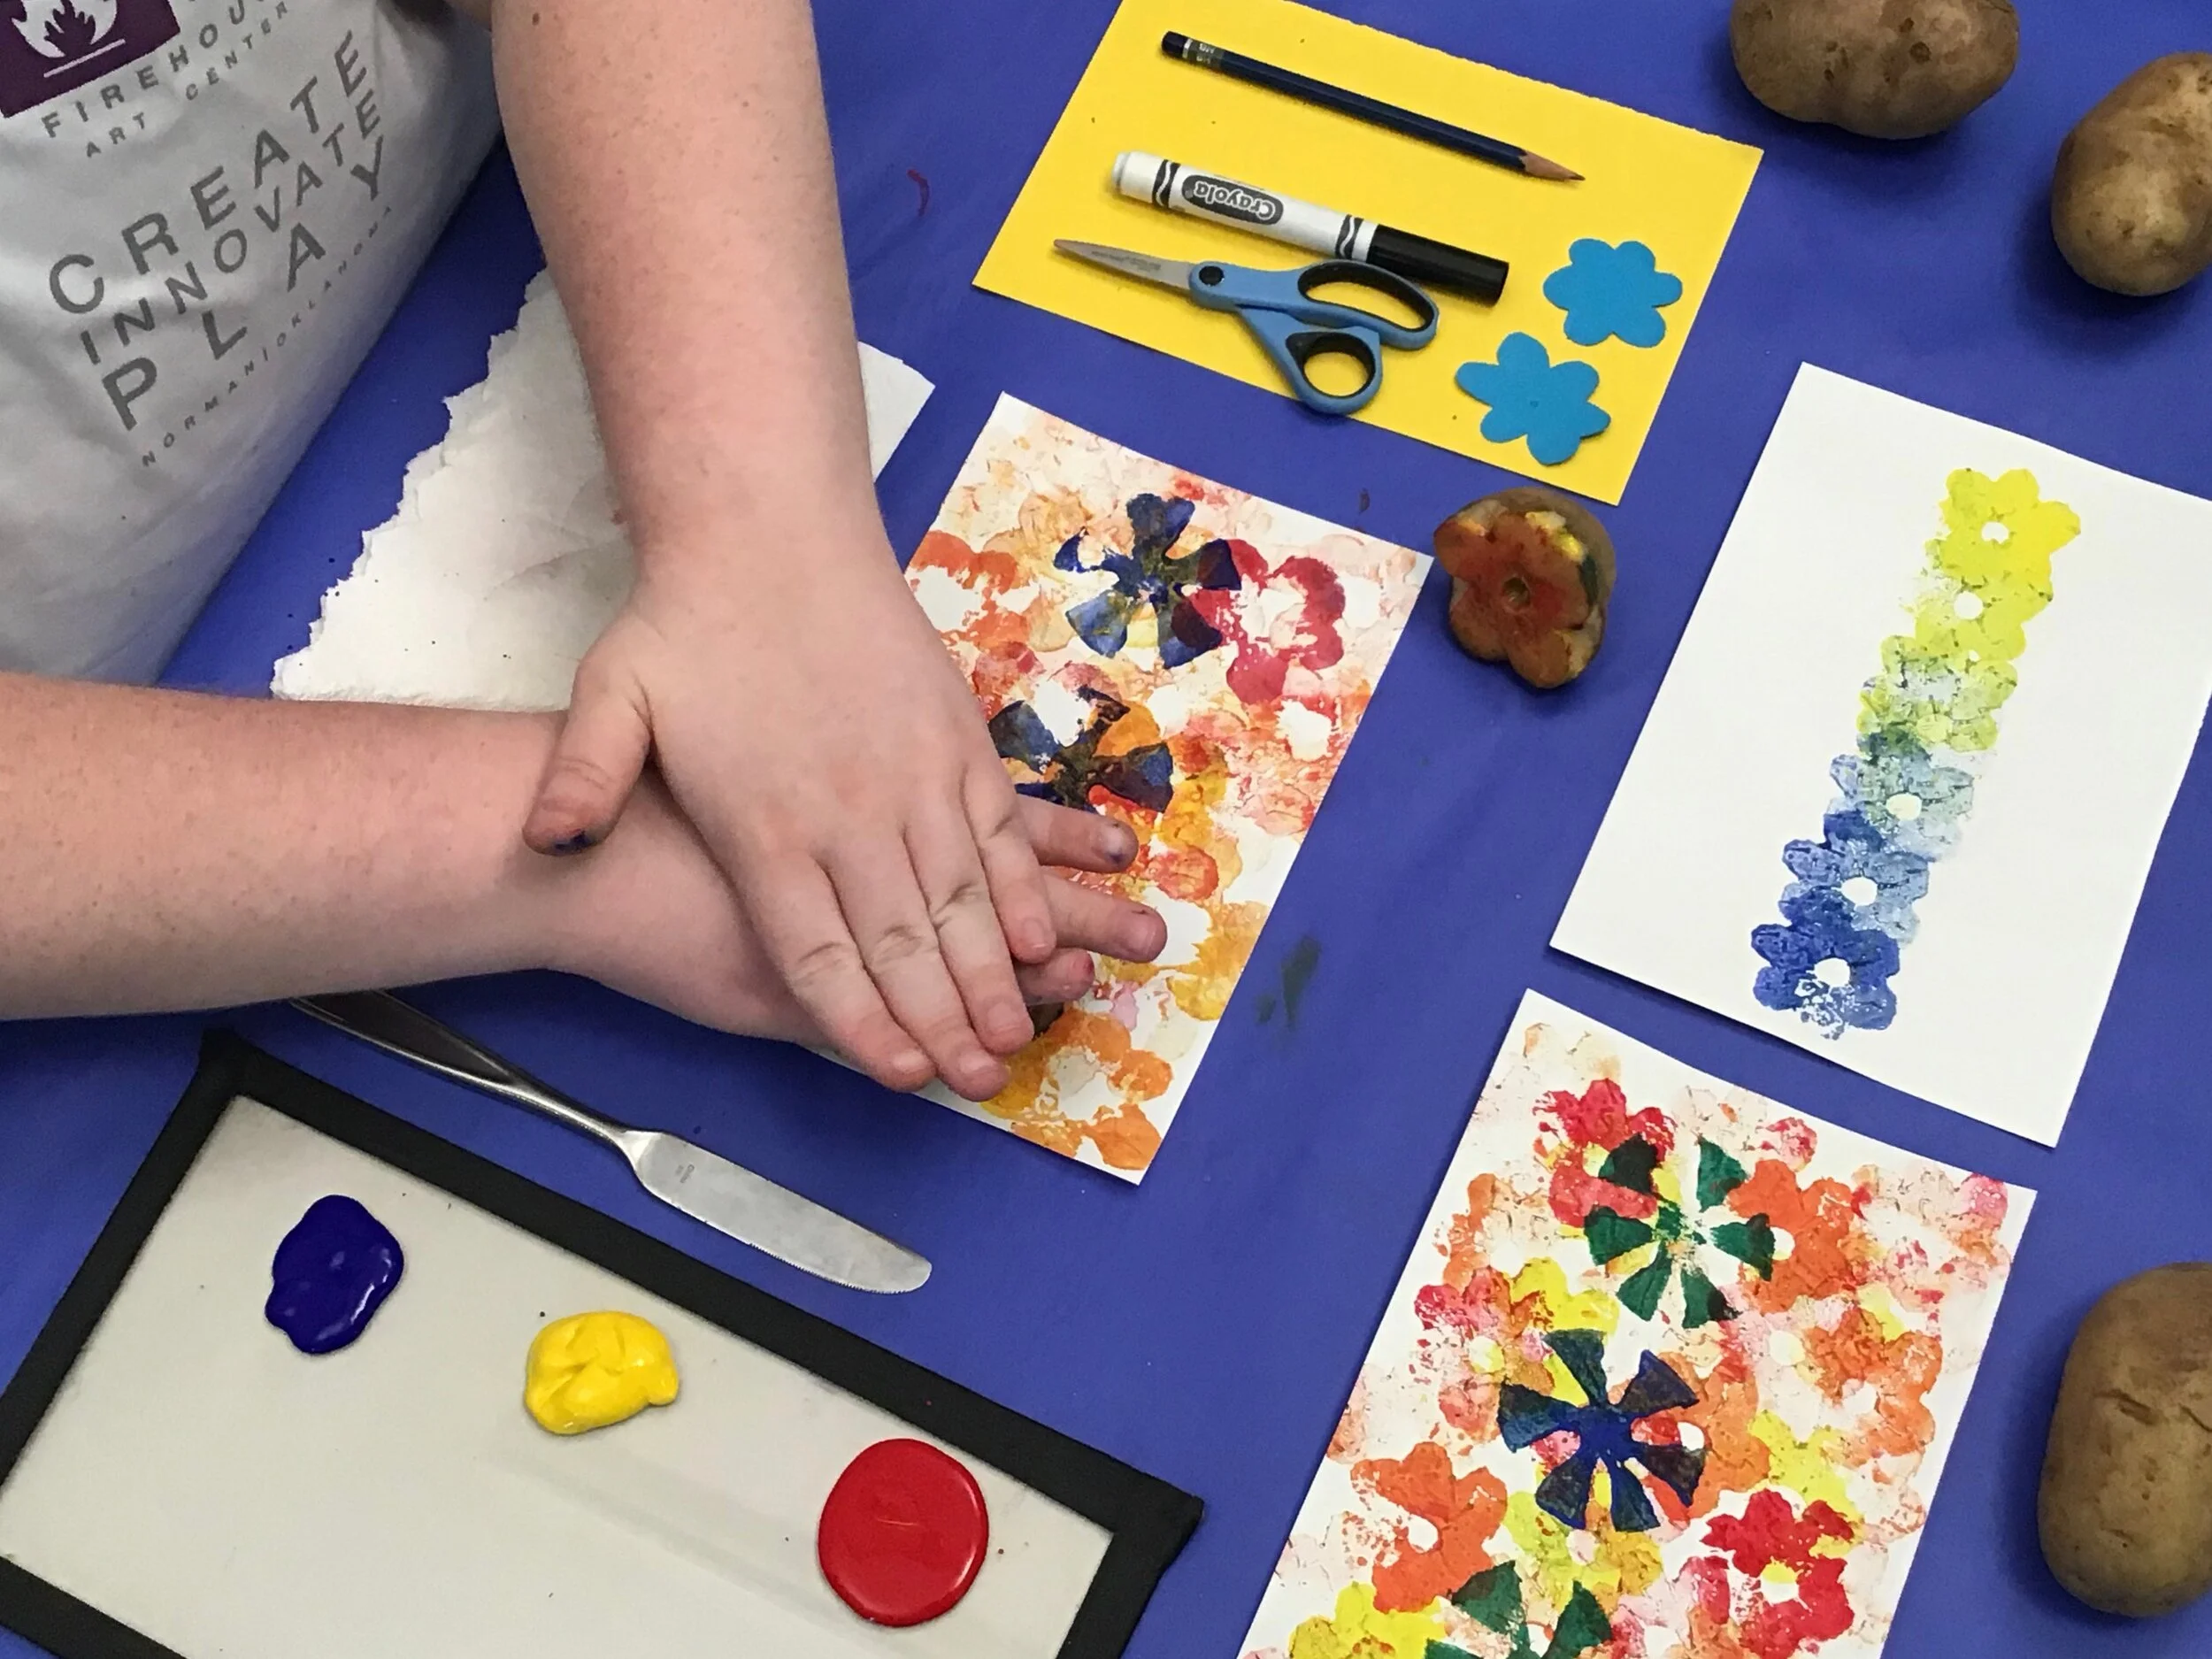
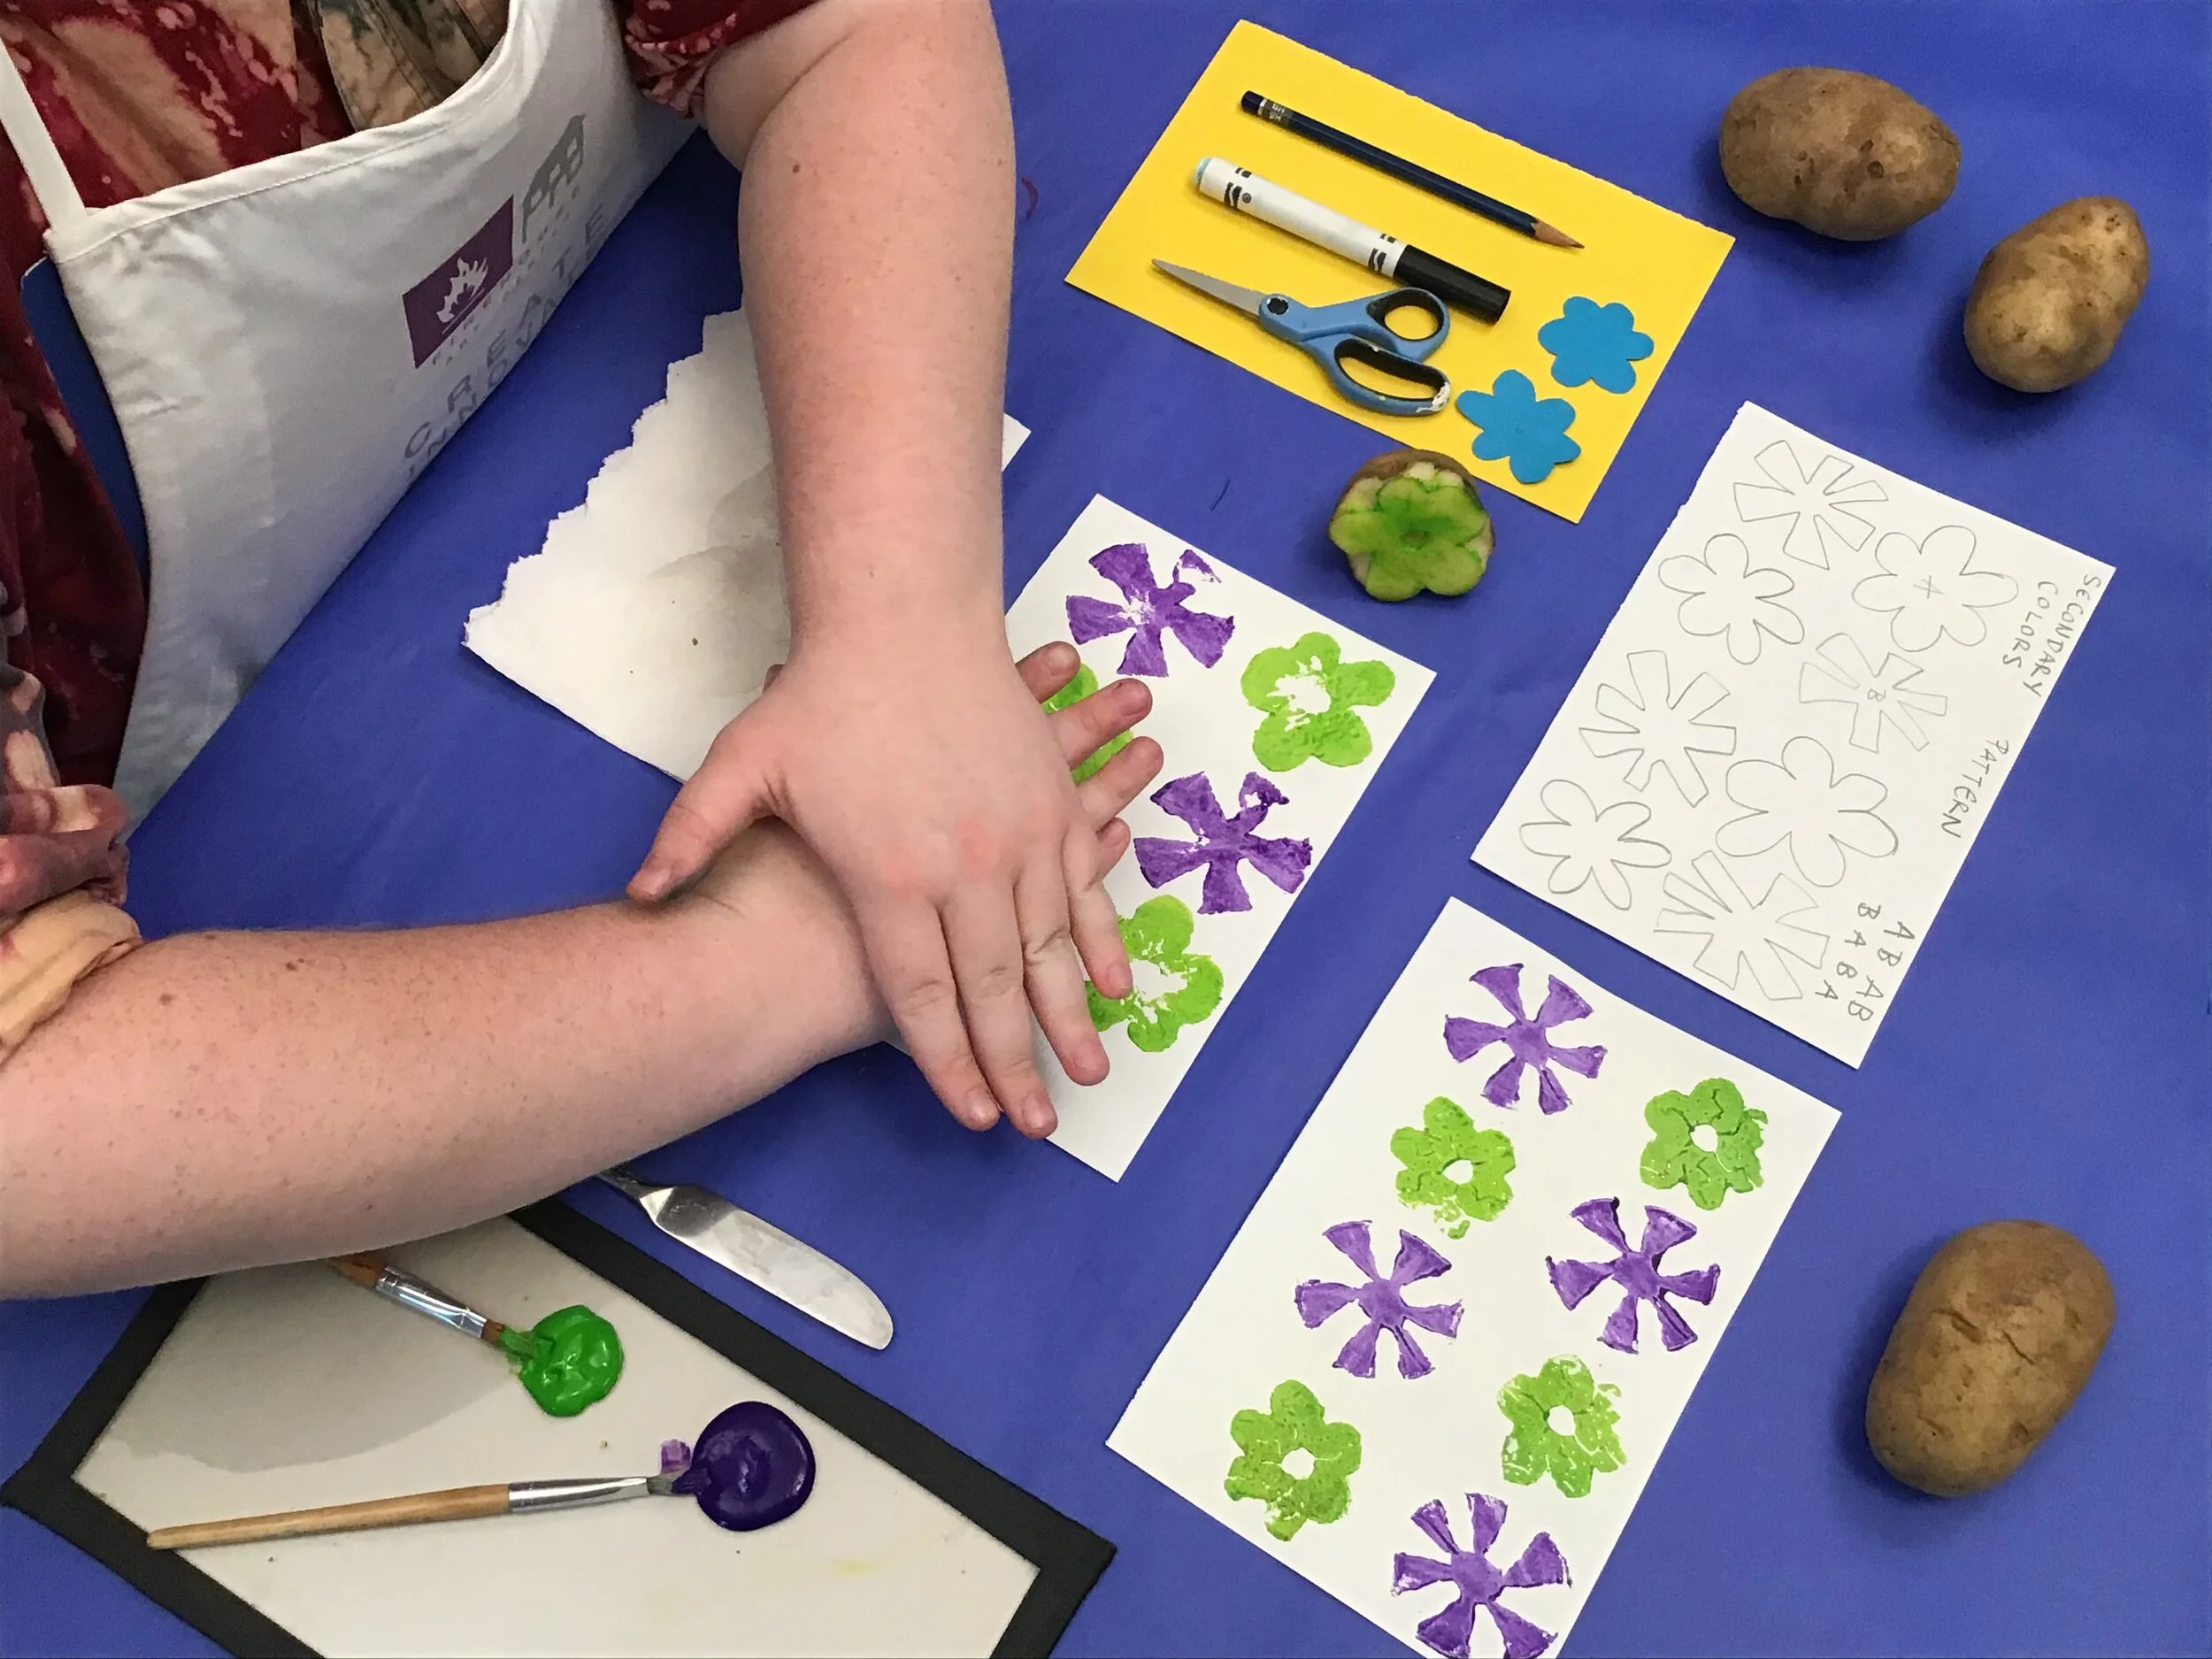
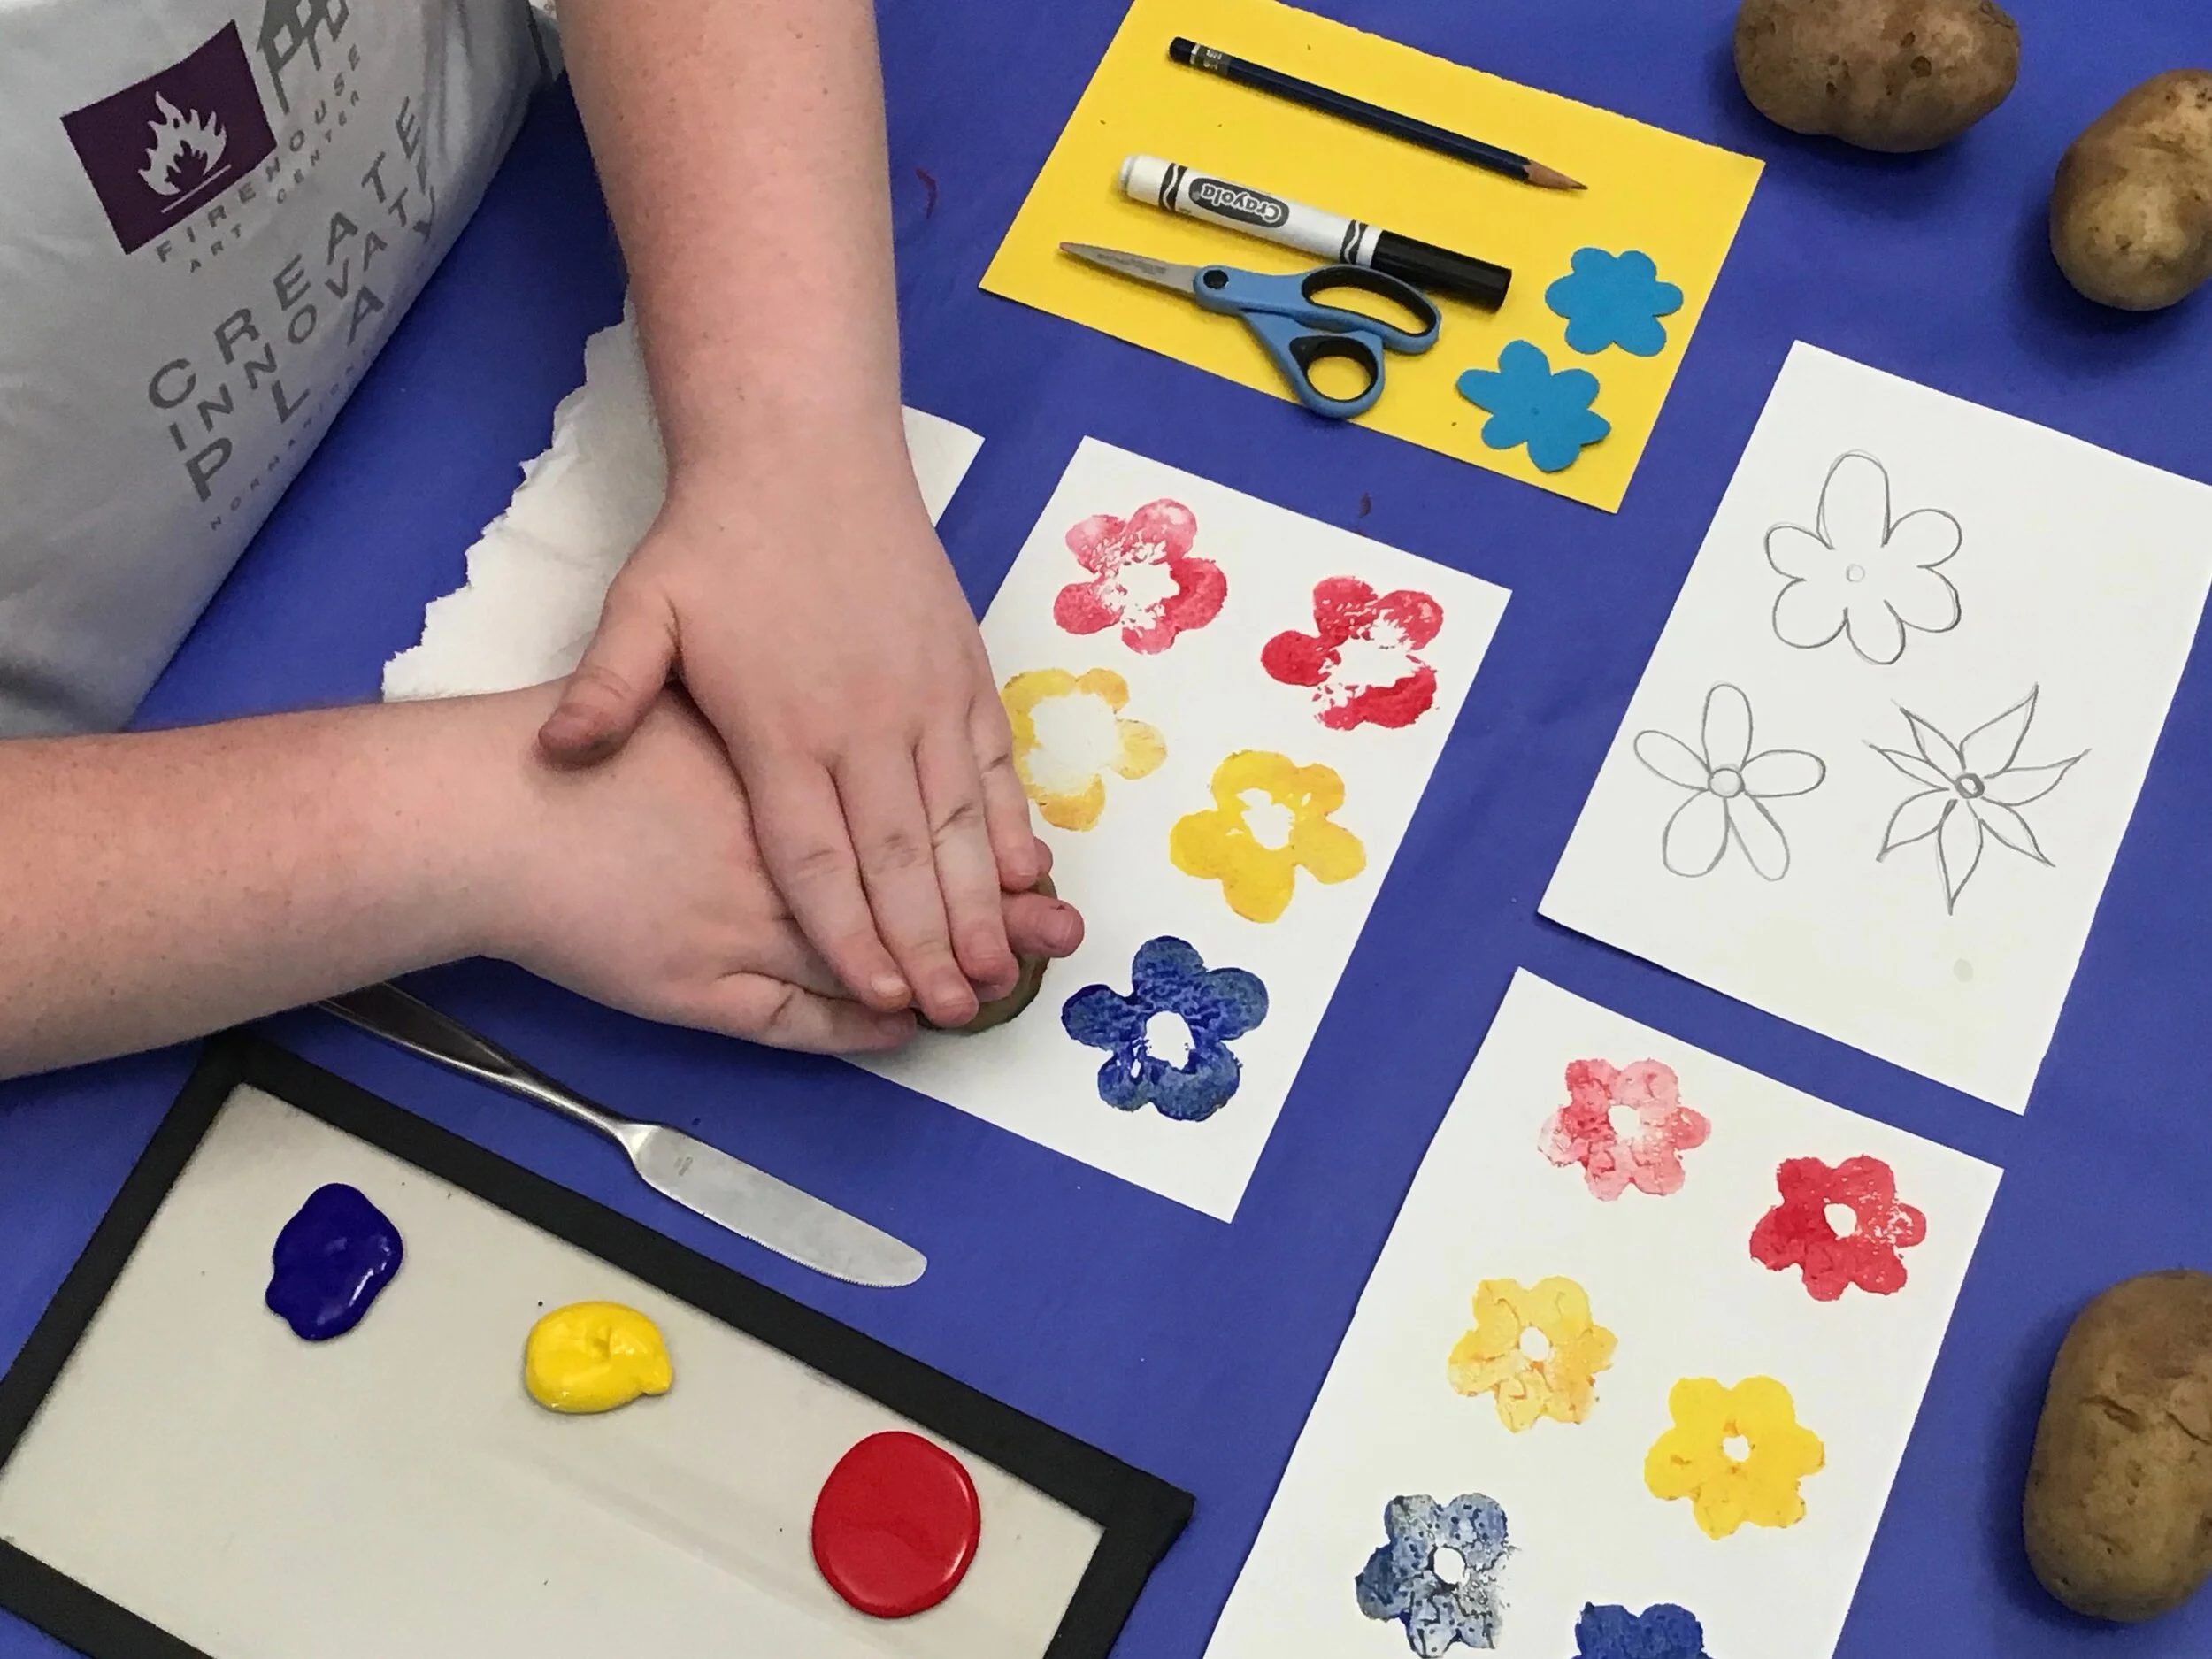
Printmaking
Students will work in styrofoam and ink to reproduce an image of their choice. Styrofoam is a versatile art tool that can be upcycled from to-go boxes and other food packaging containers!
Essential Terms
Relief: Any material, usually wax or grease crayons, that repel paint or dyes
Brayer: a small roller for inking type by hand, usually for making a proof
Print: a work of graphic art which has been conceived by the artist to be realised as an original work of art, rather than a copy of a work in another medium
Proof: an impression of a print taken in the printmaking process to see the current printing state of a plate while the plate (or stone, or woodblock) is being worked on by the artist
Objectives
Students will understand and feel comfortable using printing vocabulary like “relief” and “proof”.
Students will demonstrate an understanding of basic printmaking practices and appropriate behavior for a shared studio space.
Students will work with recycled materials to create a completed artwork.
Master Artist / Historical References
Kathe Kollwitz
Age Level(s)
10 - 14 years old
Needed Materials
Styrofoam block
Markers
Carving tools (pencils, toothpicks, etc.)
Paper (small paper for proofs/ individual prints, large paper for final collaboration)
Ink or acrylic paint
Brayers or paint brushes
Downloads
Project Instructions (PDF)
Attributions
Virtual Learning Project Developer: Augustine Smith
Curriculum Developer: Tamah Minnis
Step 1
Cut out a clean styrofoam piece from a to-go box or similar packaging material.
Step 2
Trace this shape onto a piece of sketch paper.
Step 3
Draw your composition in the outlined space. Once you have completed your sketch, trace over it with a sharpie or similar dark marker.
Step 4
Flip over this sketch paper and align the styrofoam block with the traced area.
Step 5
Using a pencil, trace the image that has bled through the paper, using enough force to make an impression in the styrofoam. This process reflects your image so that it will print in the right direction.
Step 6
Use this impression to guide your carving. Any area that you would like to be negative space (the white of the paper) should be completely carved with a toothpick or depressed with a pencil to ensure it does not show up.
Step 7
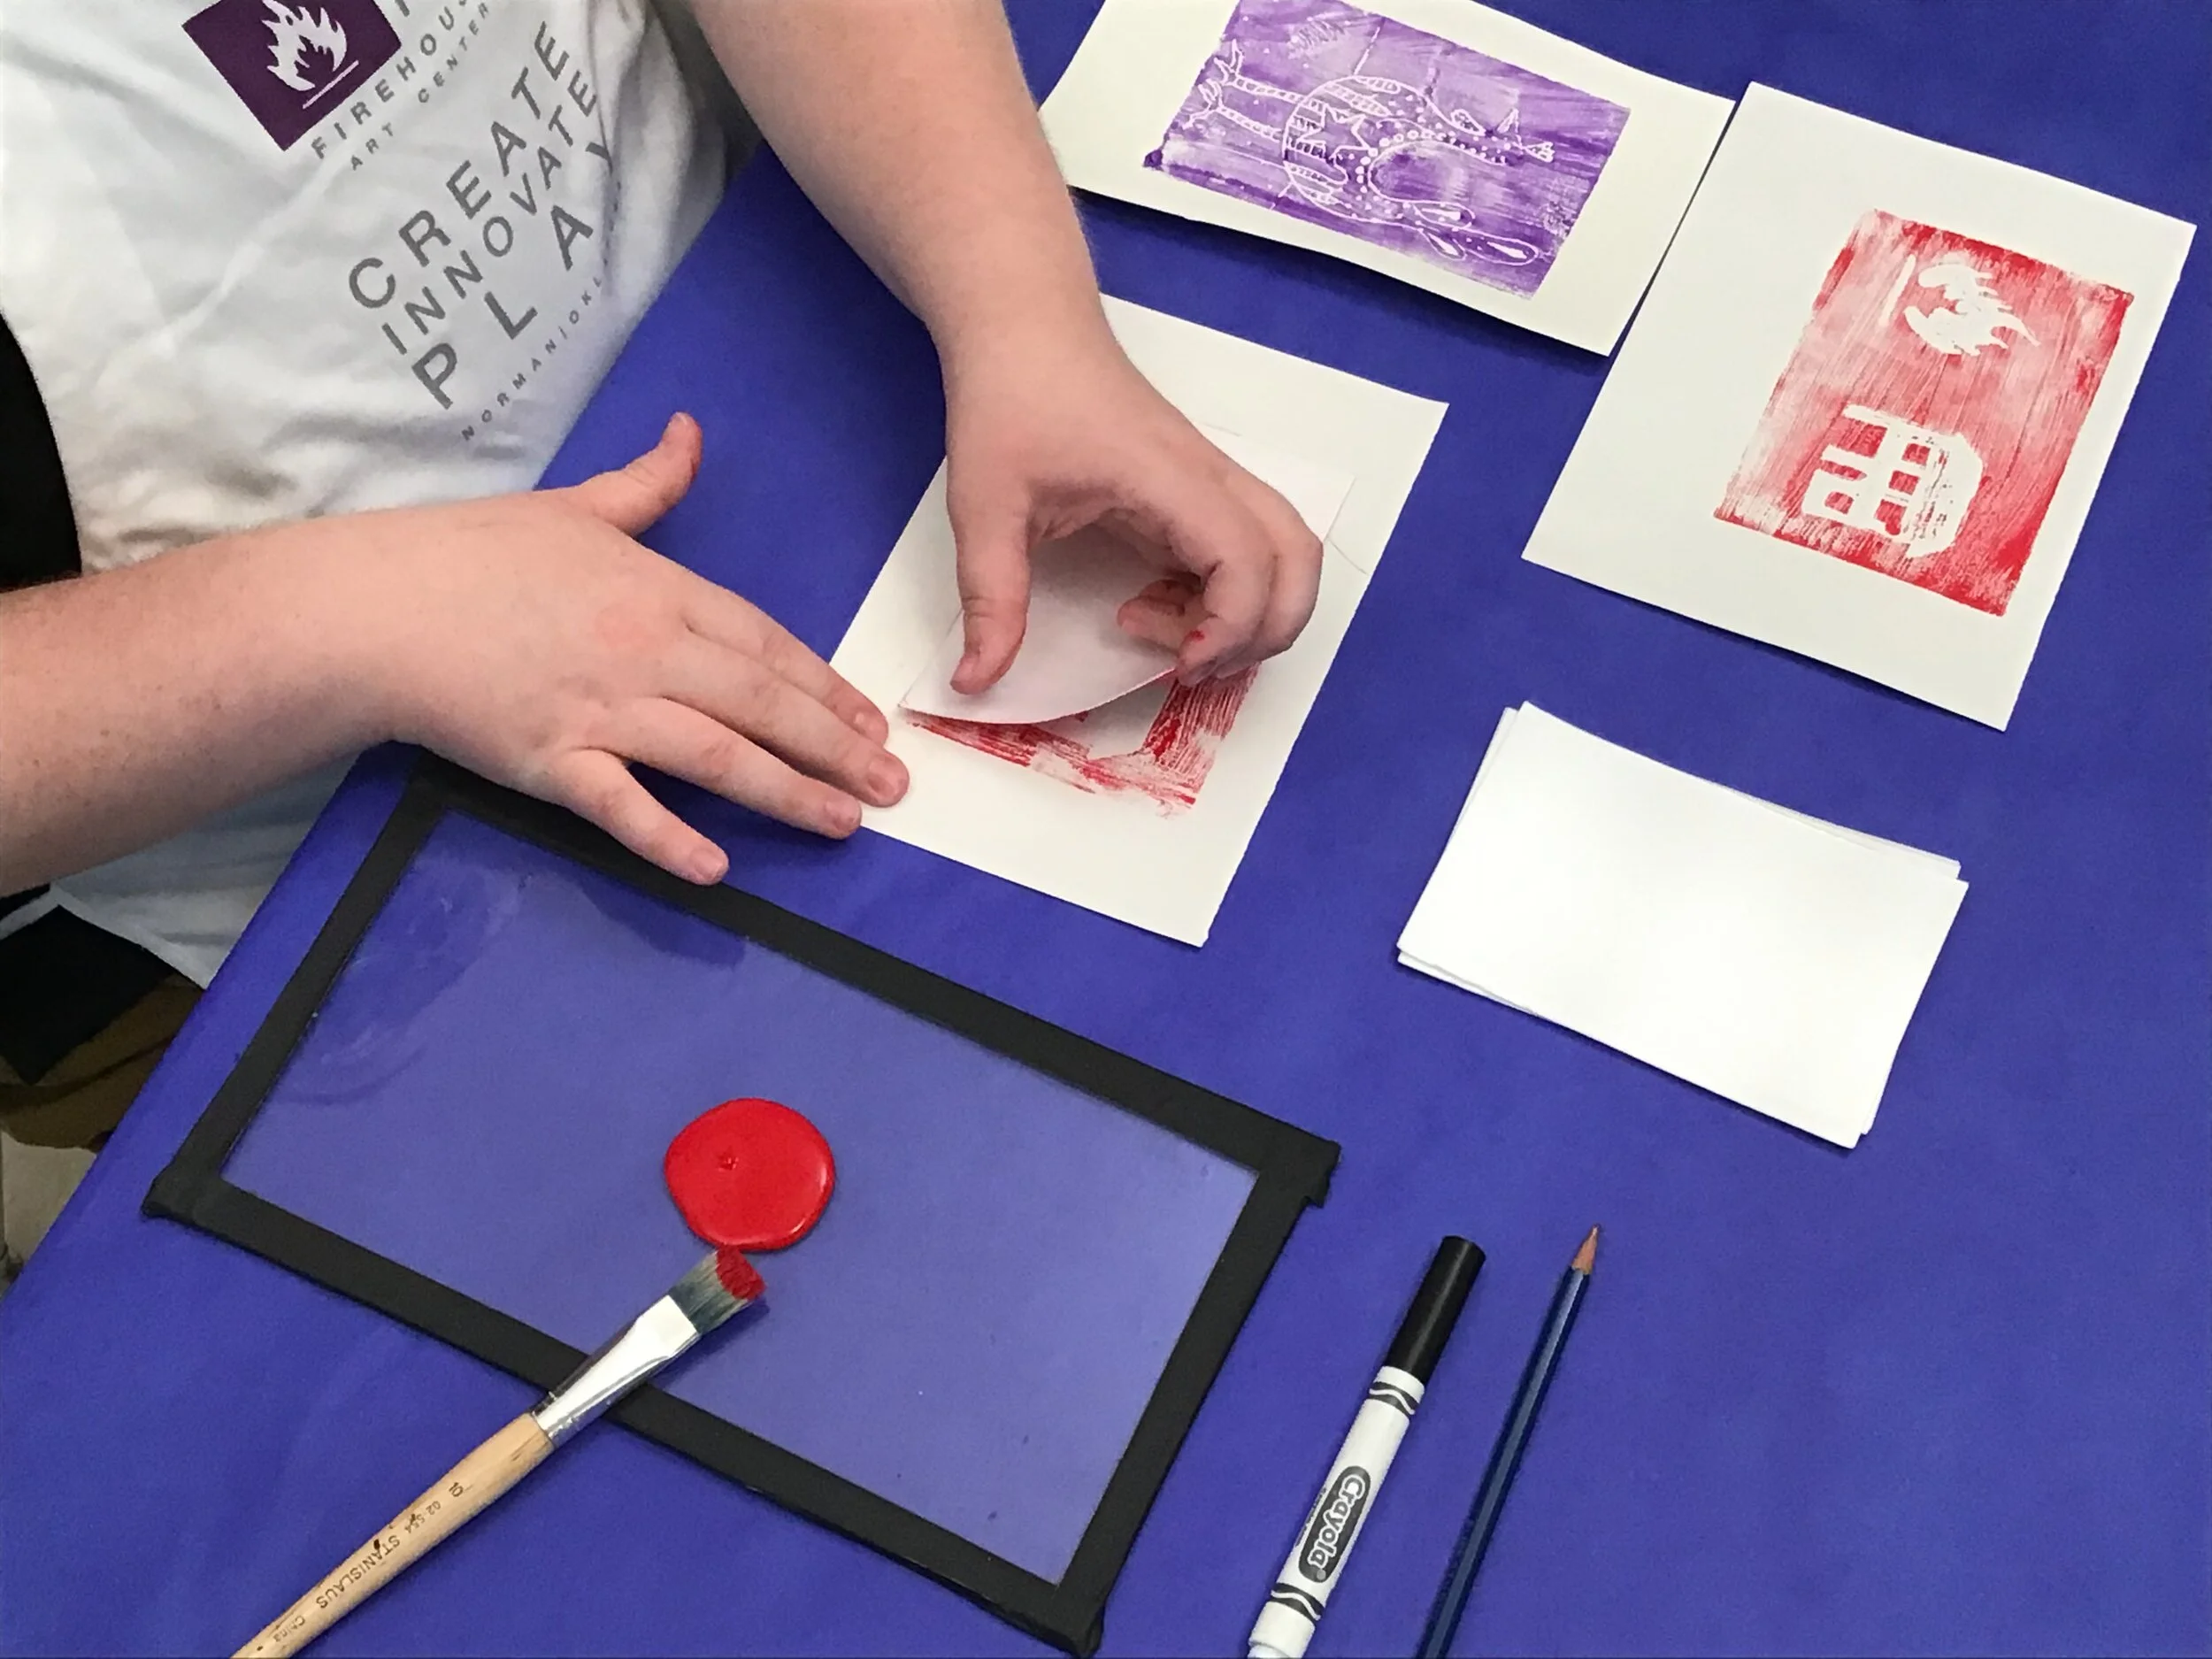
Use a Brayer or Roller to cover the surface of the styrofoam with paint. If you don’t have a brayer, a paintbrush will work just fine!
Step 8
Press your styrofoam block into your paper.
Step 9
Remove the block from the paper to reveal your final print!
Step 1
Step 2
Step 3
Step 4
Step 5
Step 6
Step 7
Step 8
Step 9