Monoprints
Summary
Printmaking
Through this lesson, students will create a monoprint from materials found at home. Monoprint is a great project for students to begin to understand the printing process and alternative methods of painting. Students can look to the work of local artist Jean Bavinger in creating their own experimental prints.
Essential Terms
Monoprint: a form of printmaking where the image can only be made once, unlike most printmaking which allows for multiple originals.
Resist: Any material that repels paint or dyes
Objectives
Students will be able to create a monoprint using shoes and other found materials.
Students will be able to create texture through the process of monoprint.
Master Artist / Historical References
Jean Bavinger
Age Level(s)
5 - 6 years old, 7 - 9 years old
Needed Materials
Plexi Glass sheet or Glass baking pan (A cutting mat from the dollar store was used for this demonstration)
Acrylic Paint
Roller or Paint Brush
Q-tips
Toothpicks or paper clips
Shoe or other textured found objects
Downloads
Project Instructions (PDF)
Attributions
Virtual Learning Project Developer: Augustine Smith
Curriculum Developer: Tamah Minnis
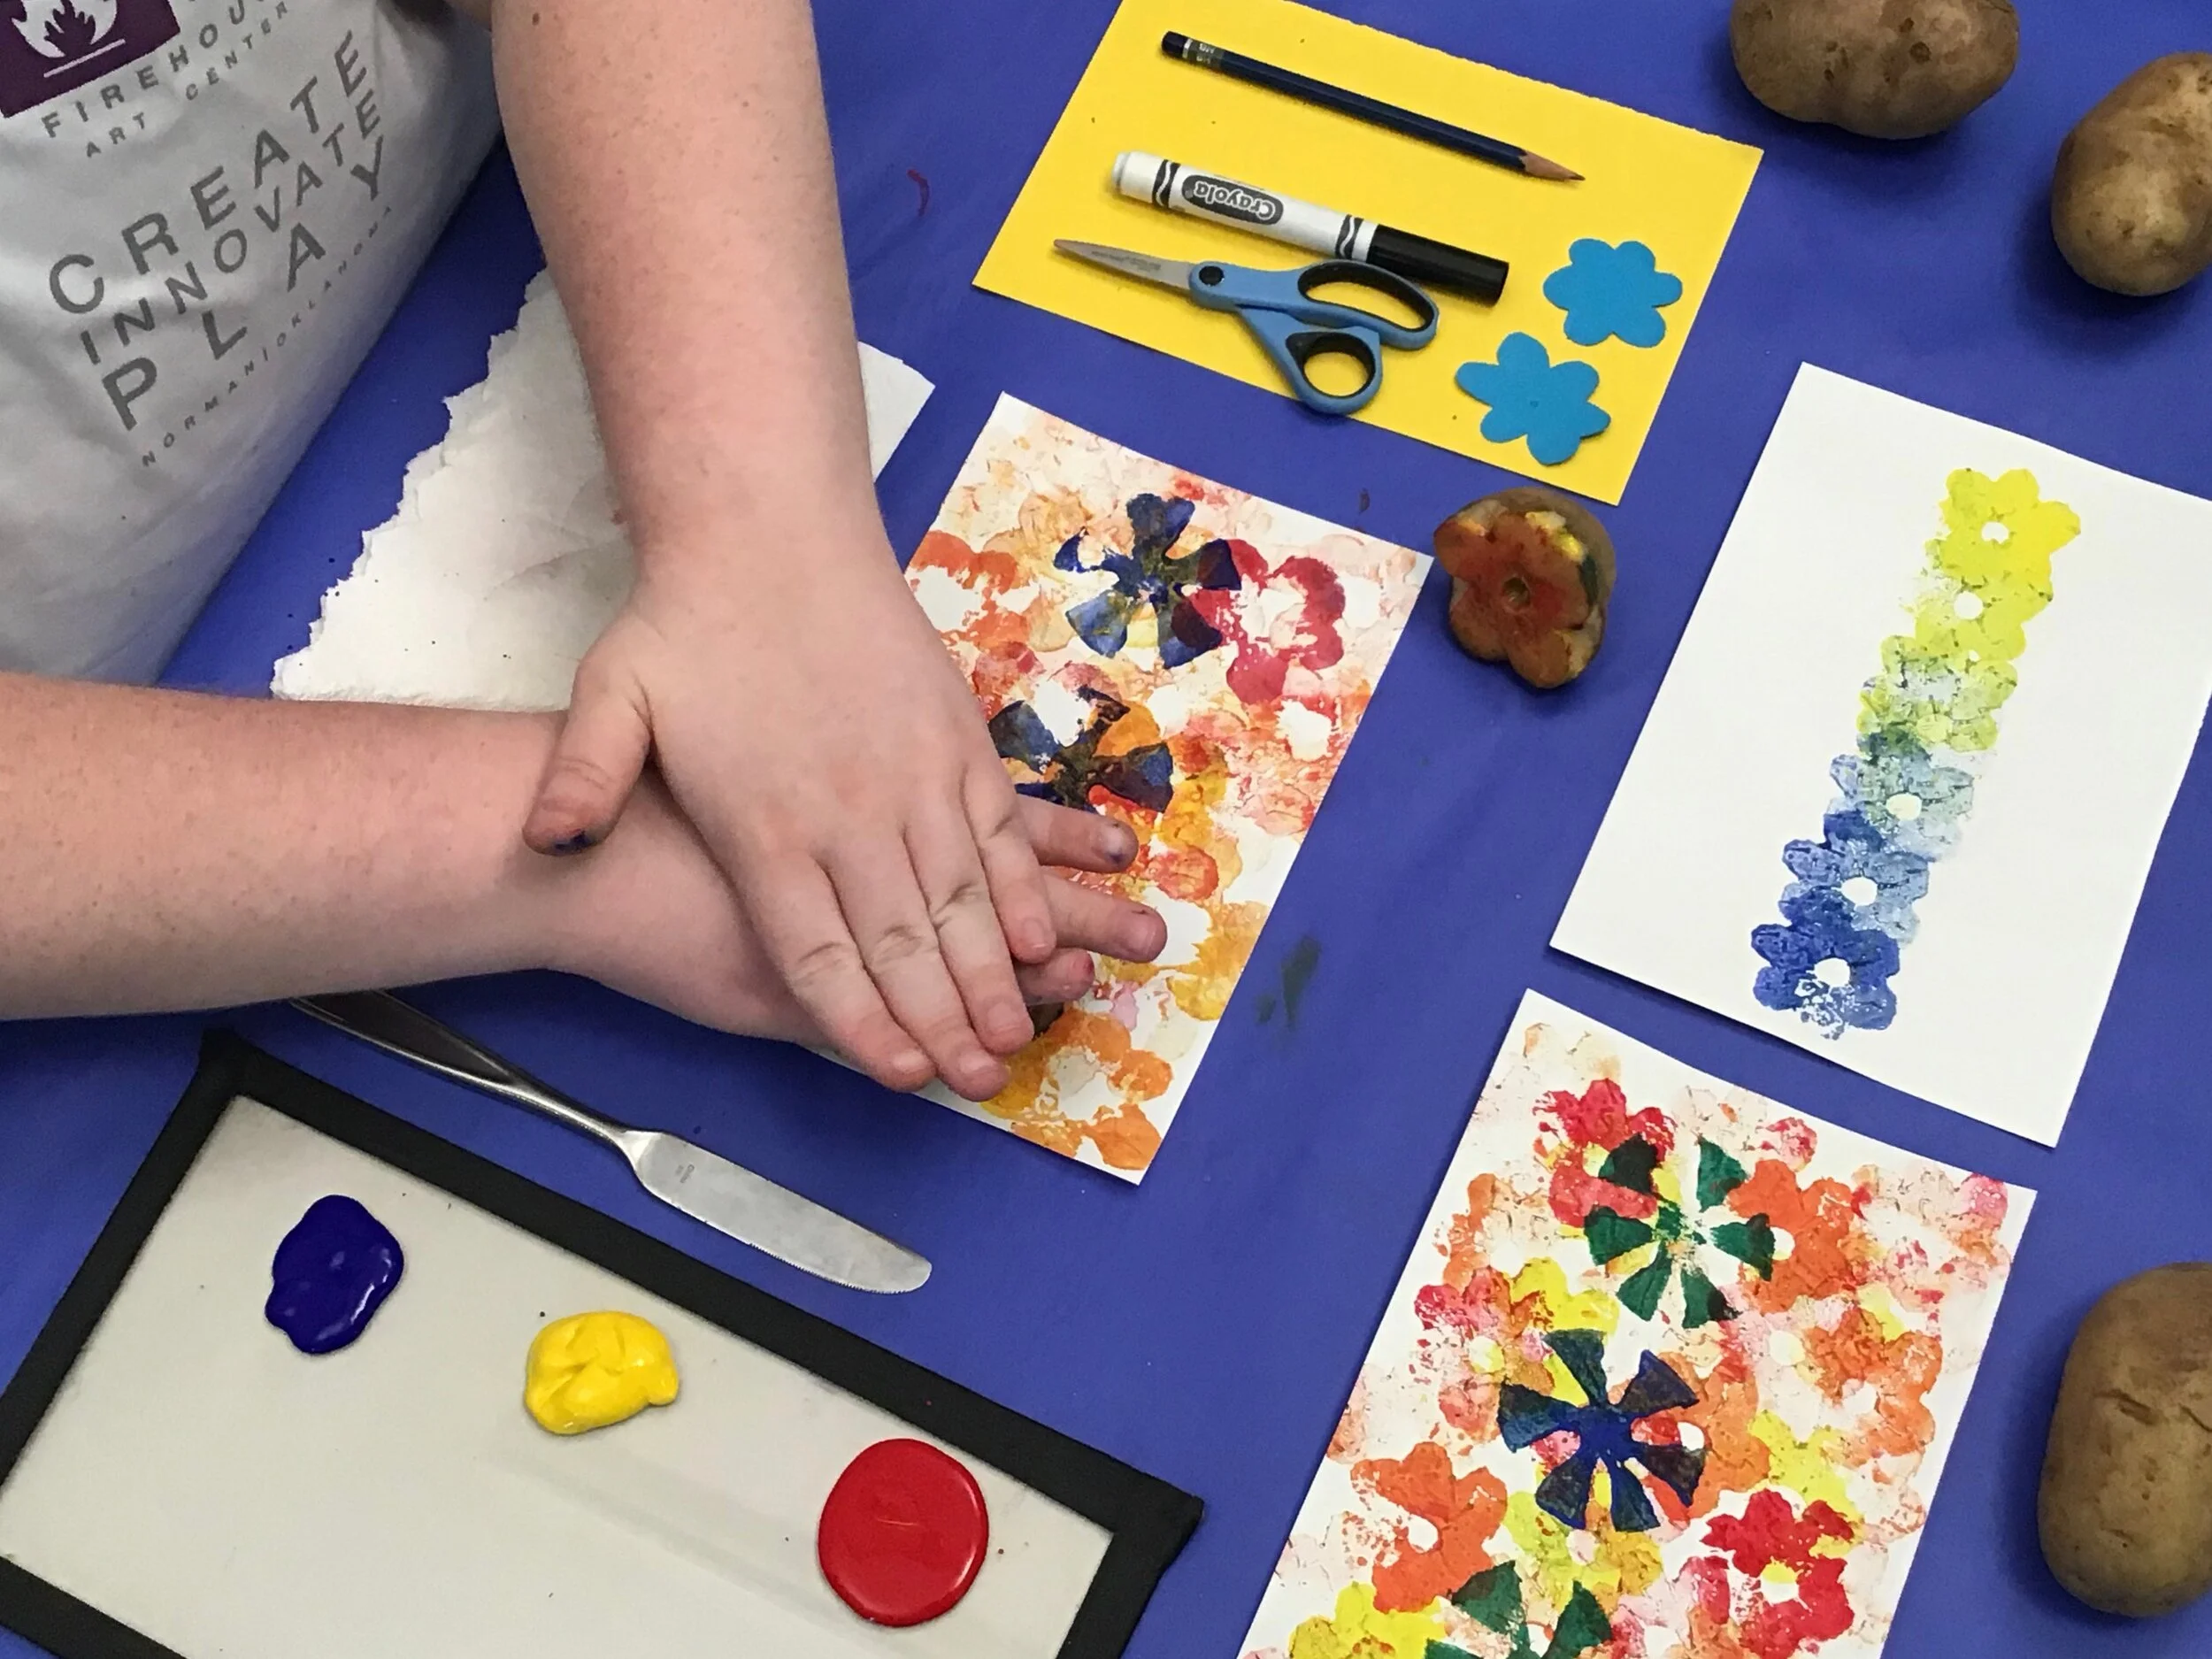
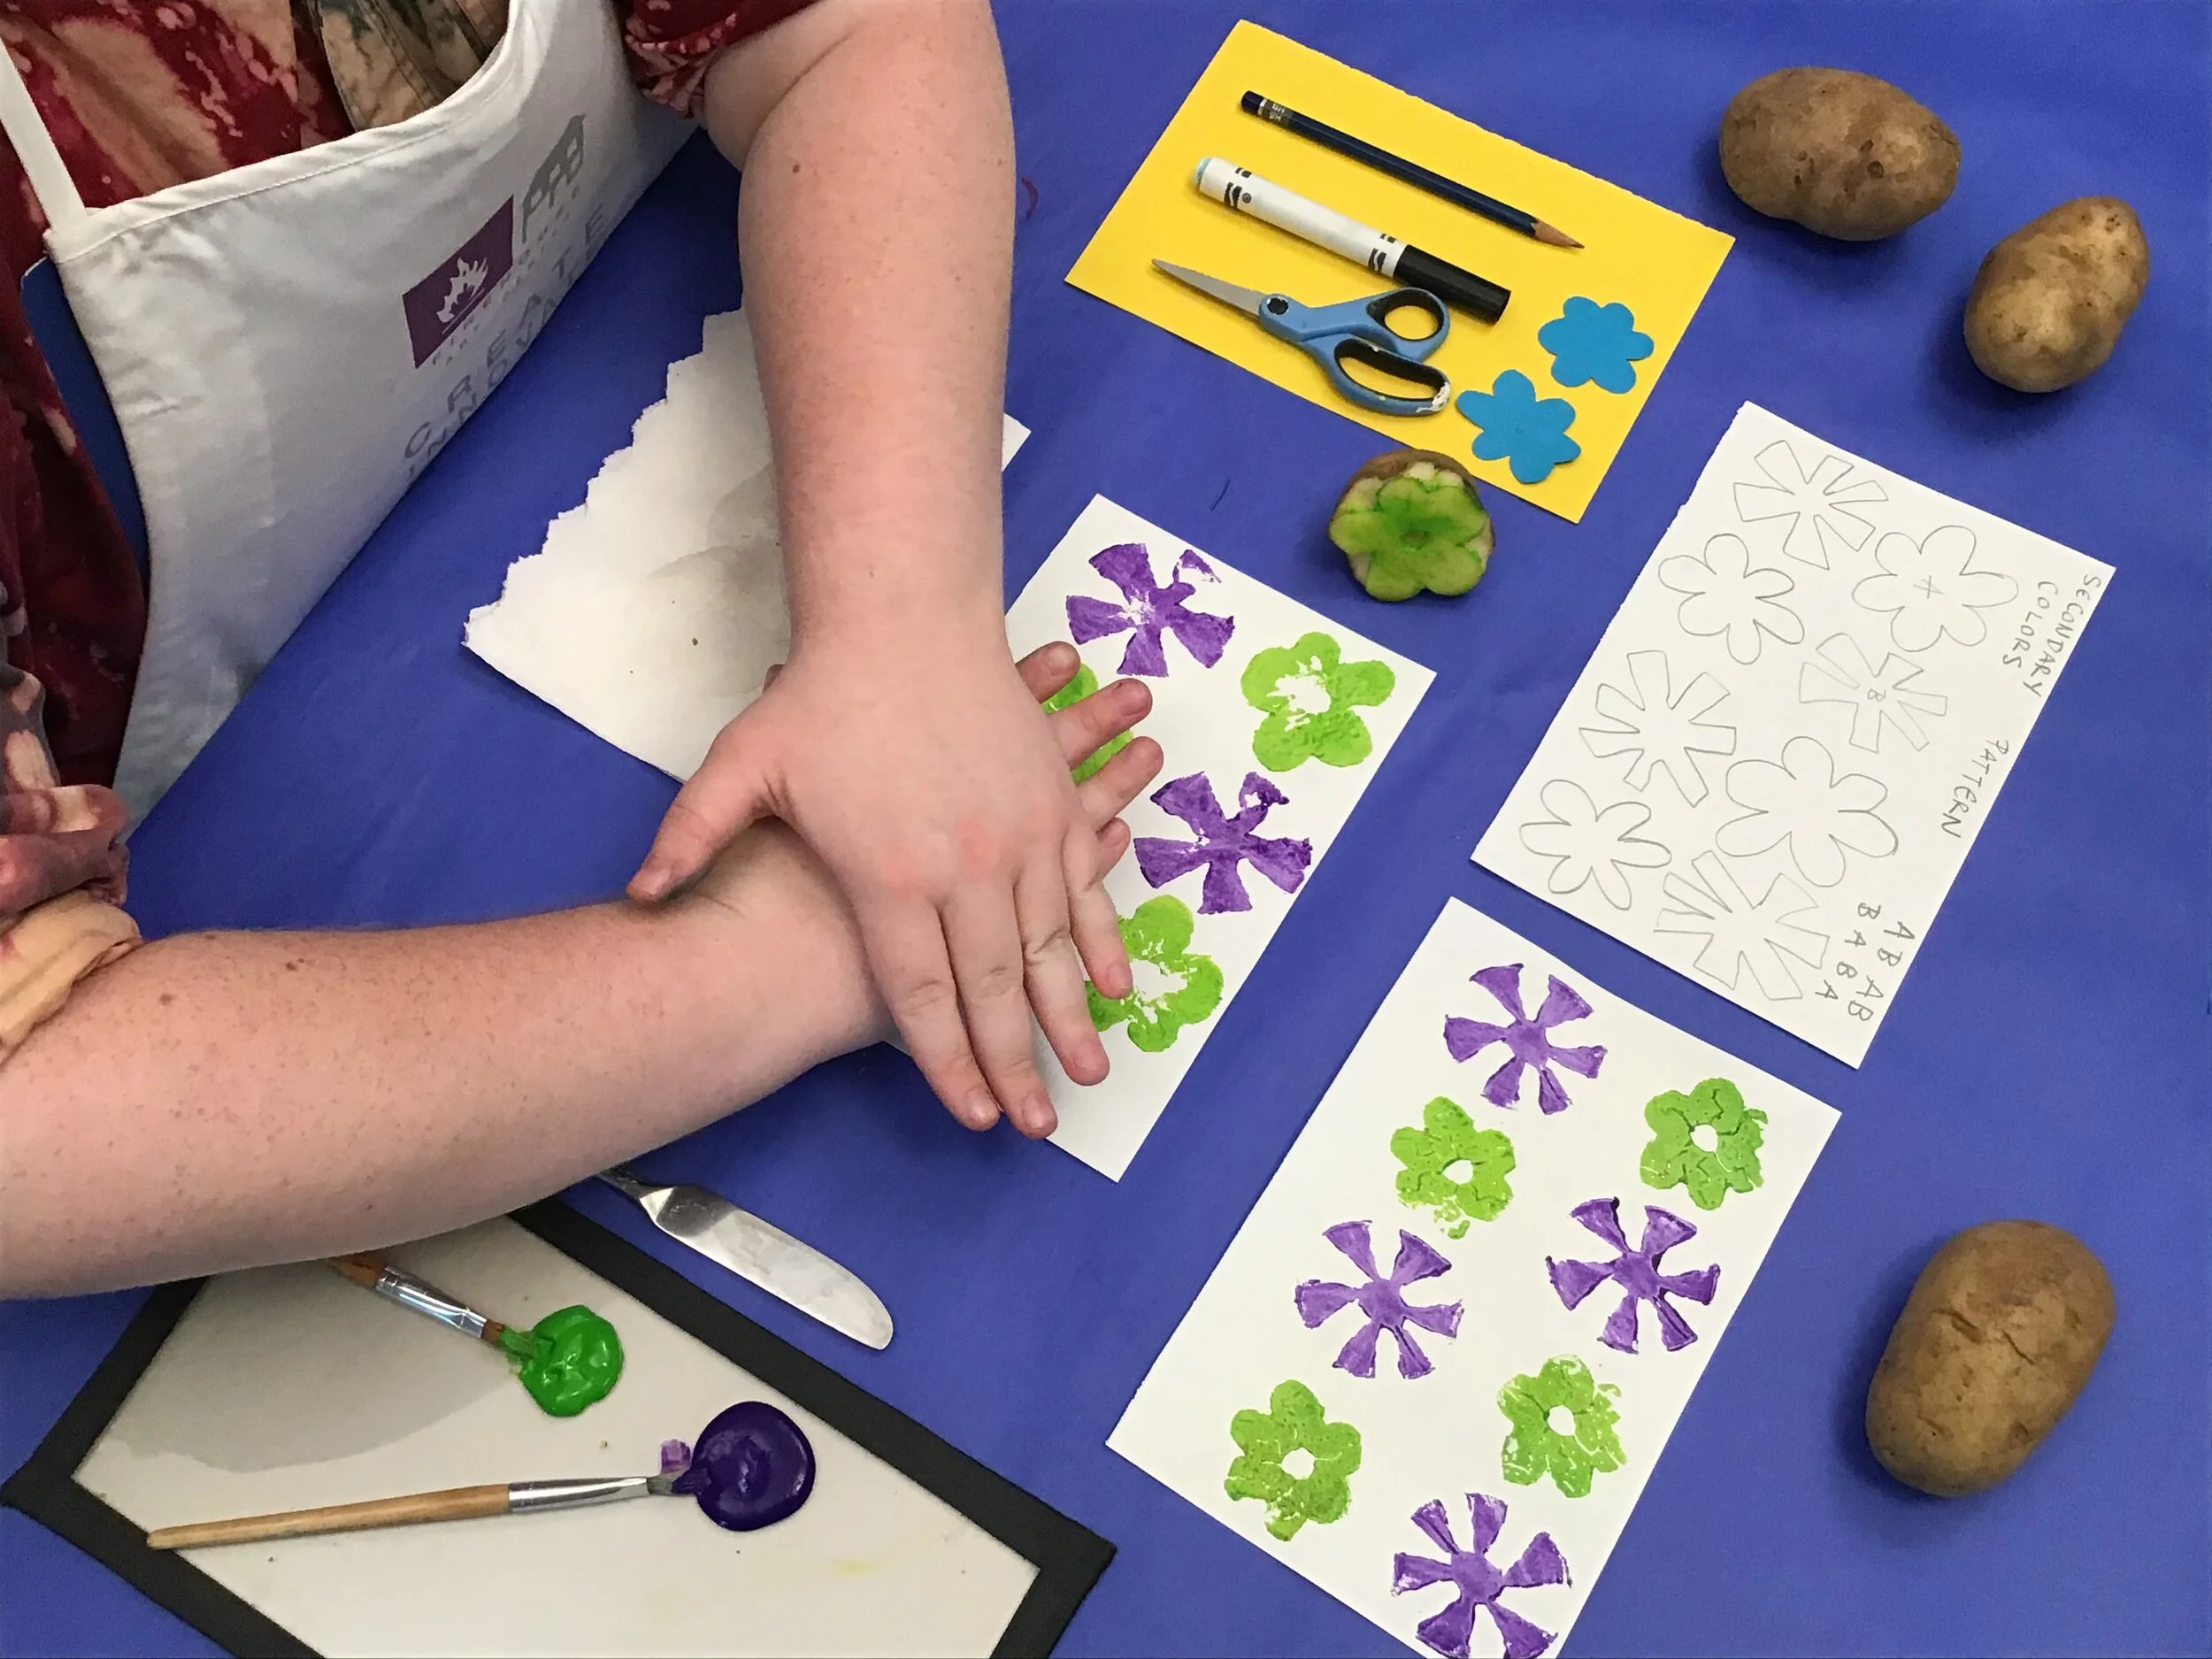
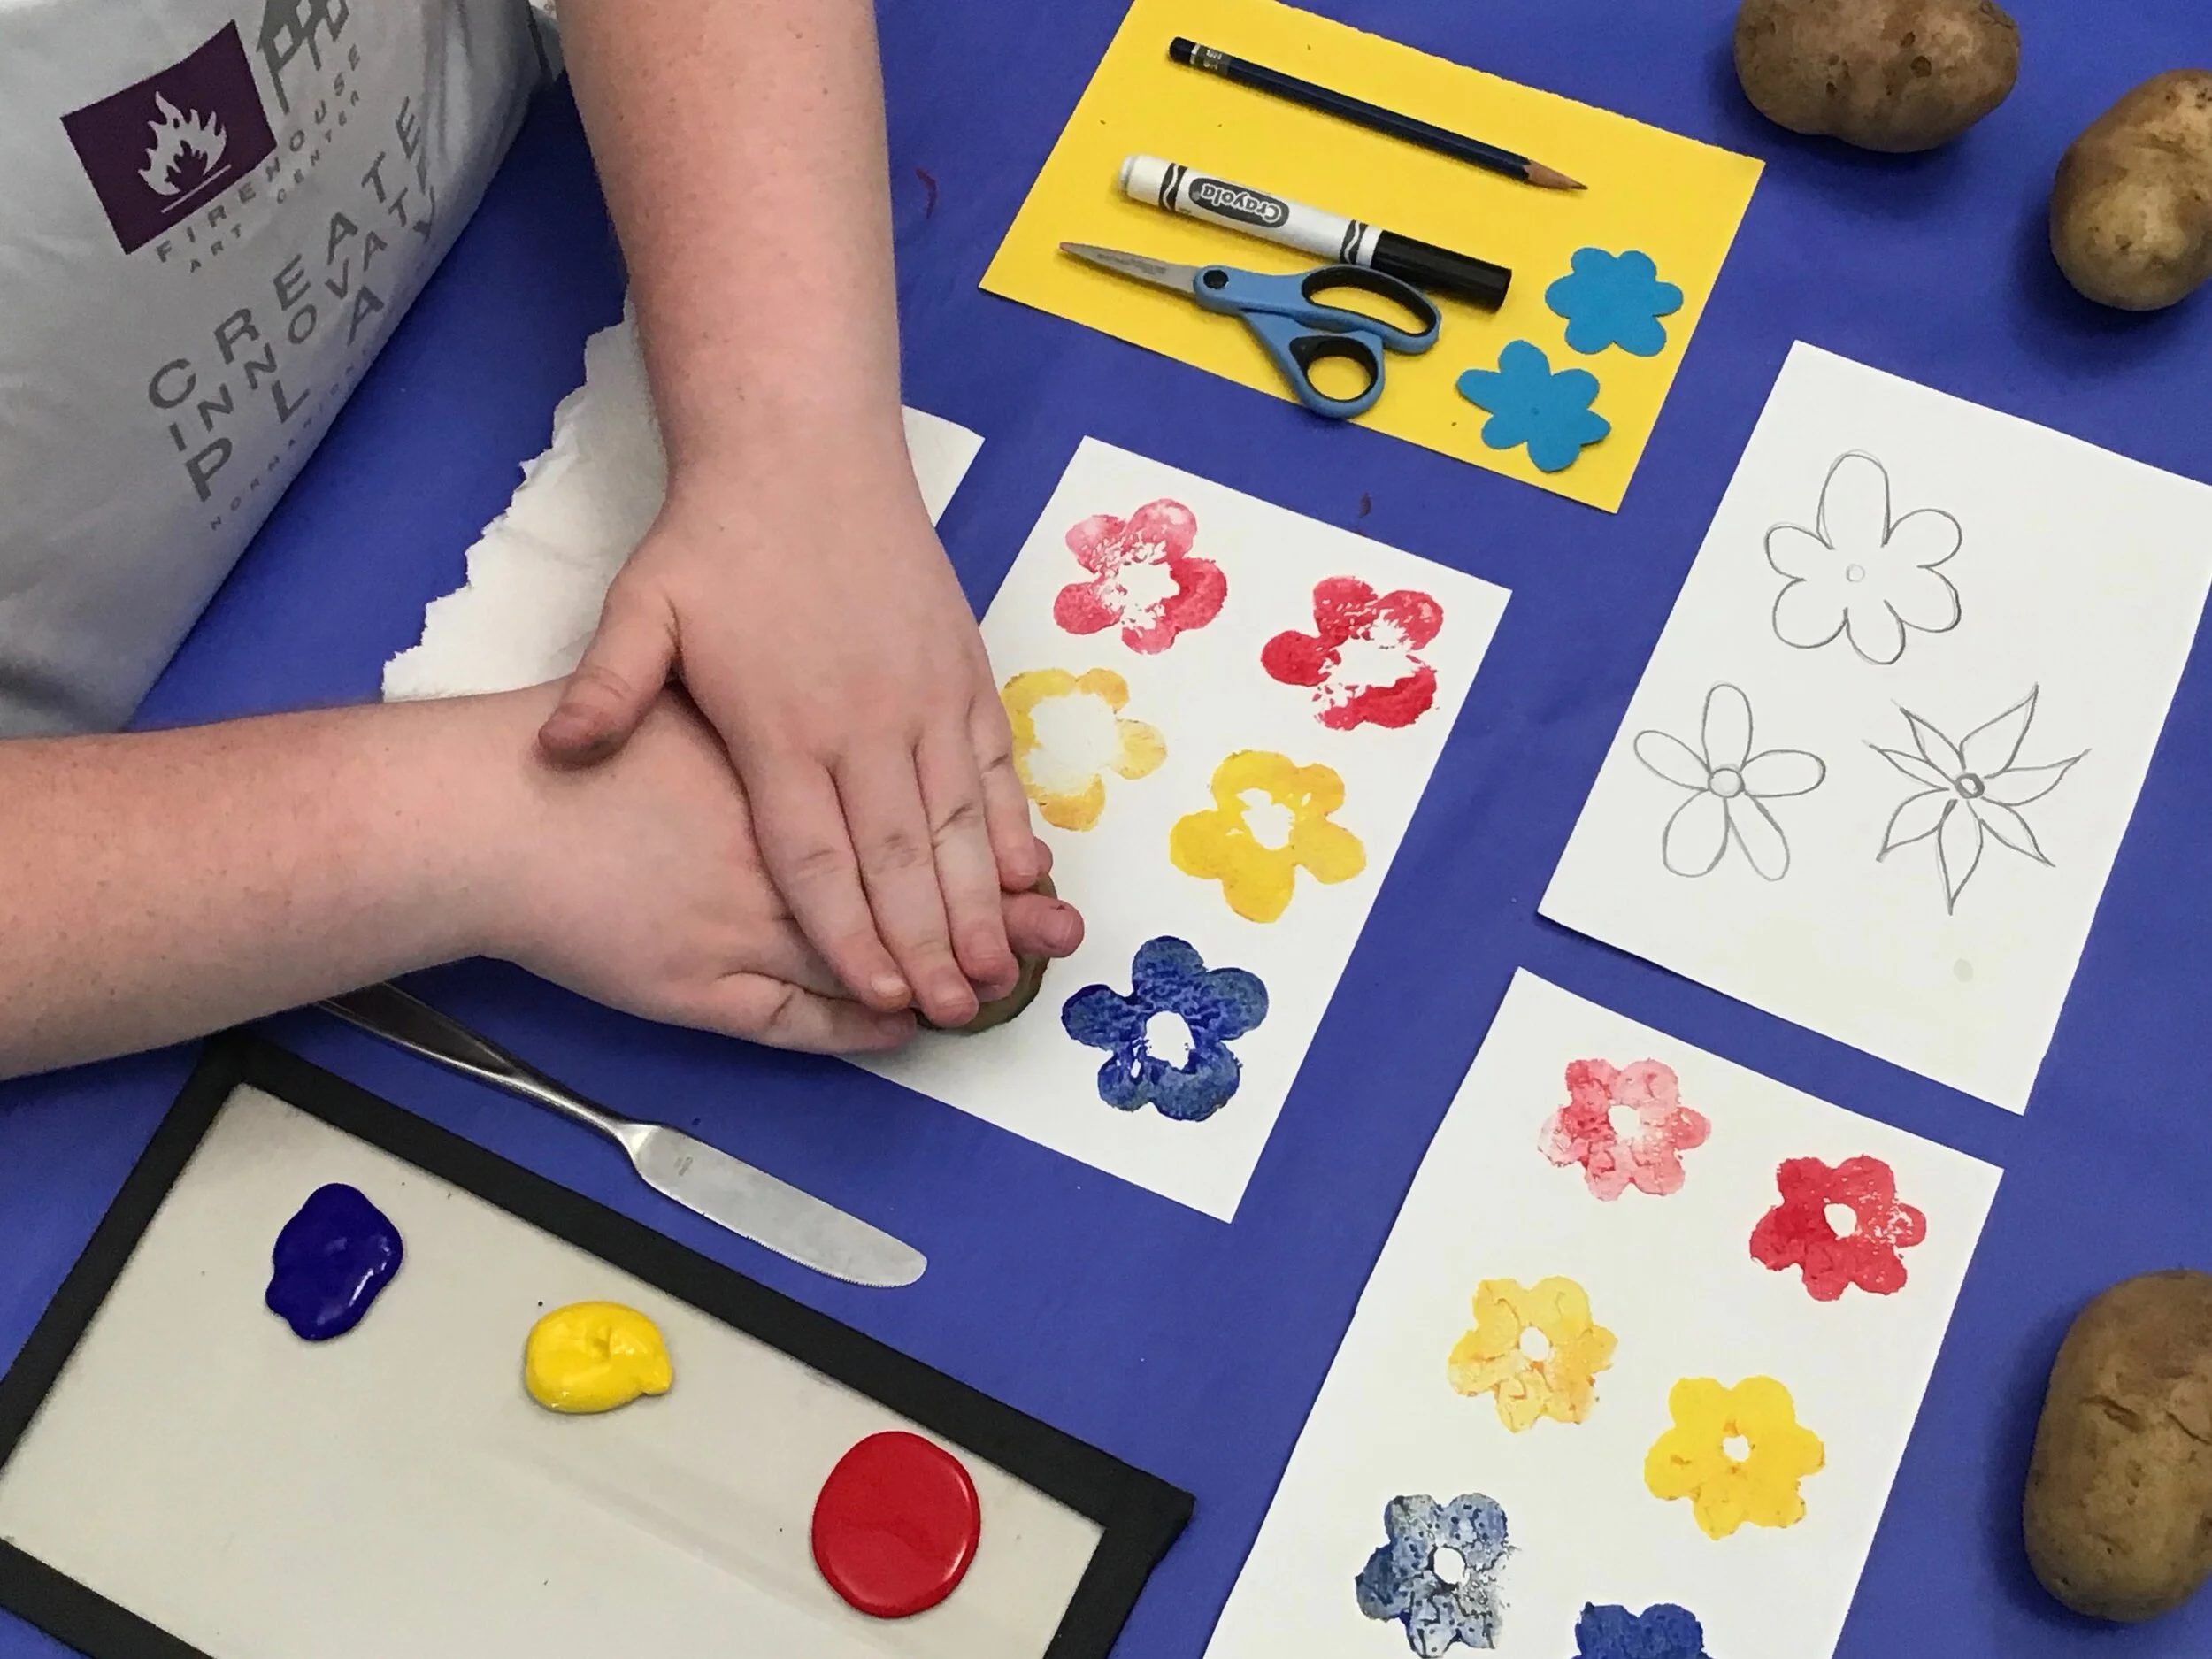
Step 1
Tape a square or rectangle onto your smooth surface as a border.
Step 2
Roll out acrylic paint inside of this taped area. If you do not have a brayer or paint roller for this step, you can use a paint brush. This will create a unique texture in the surface of your print.
Step 3
Use toothpicks, q tips, and sponges to remove paint from the surface.
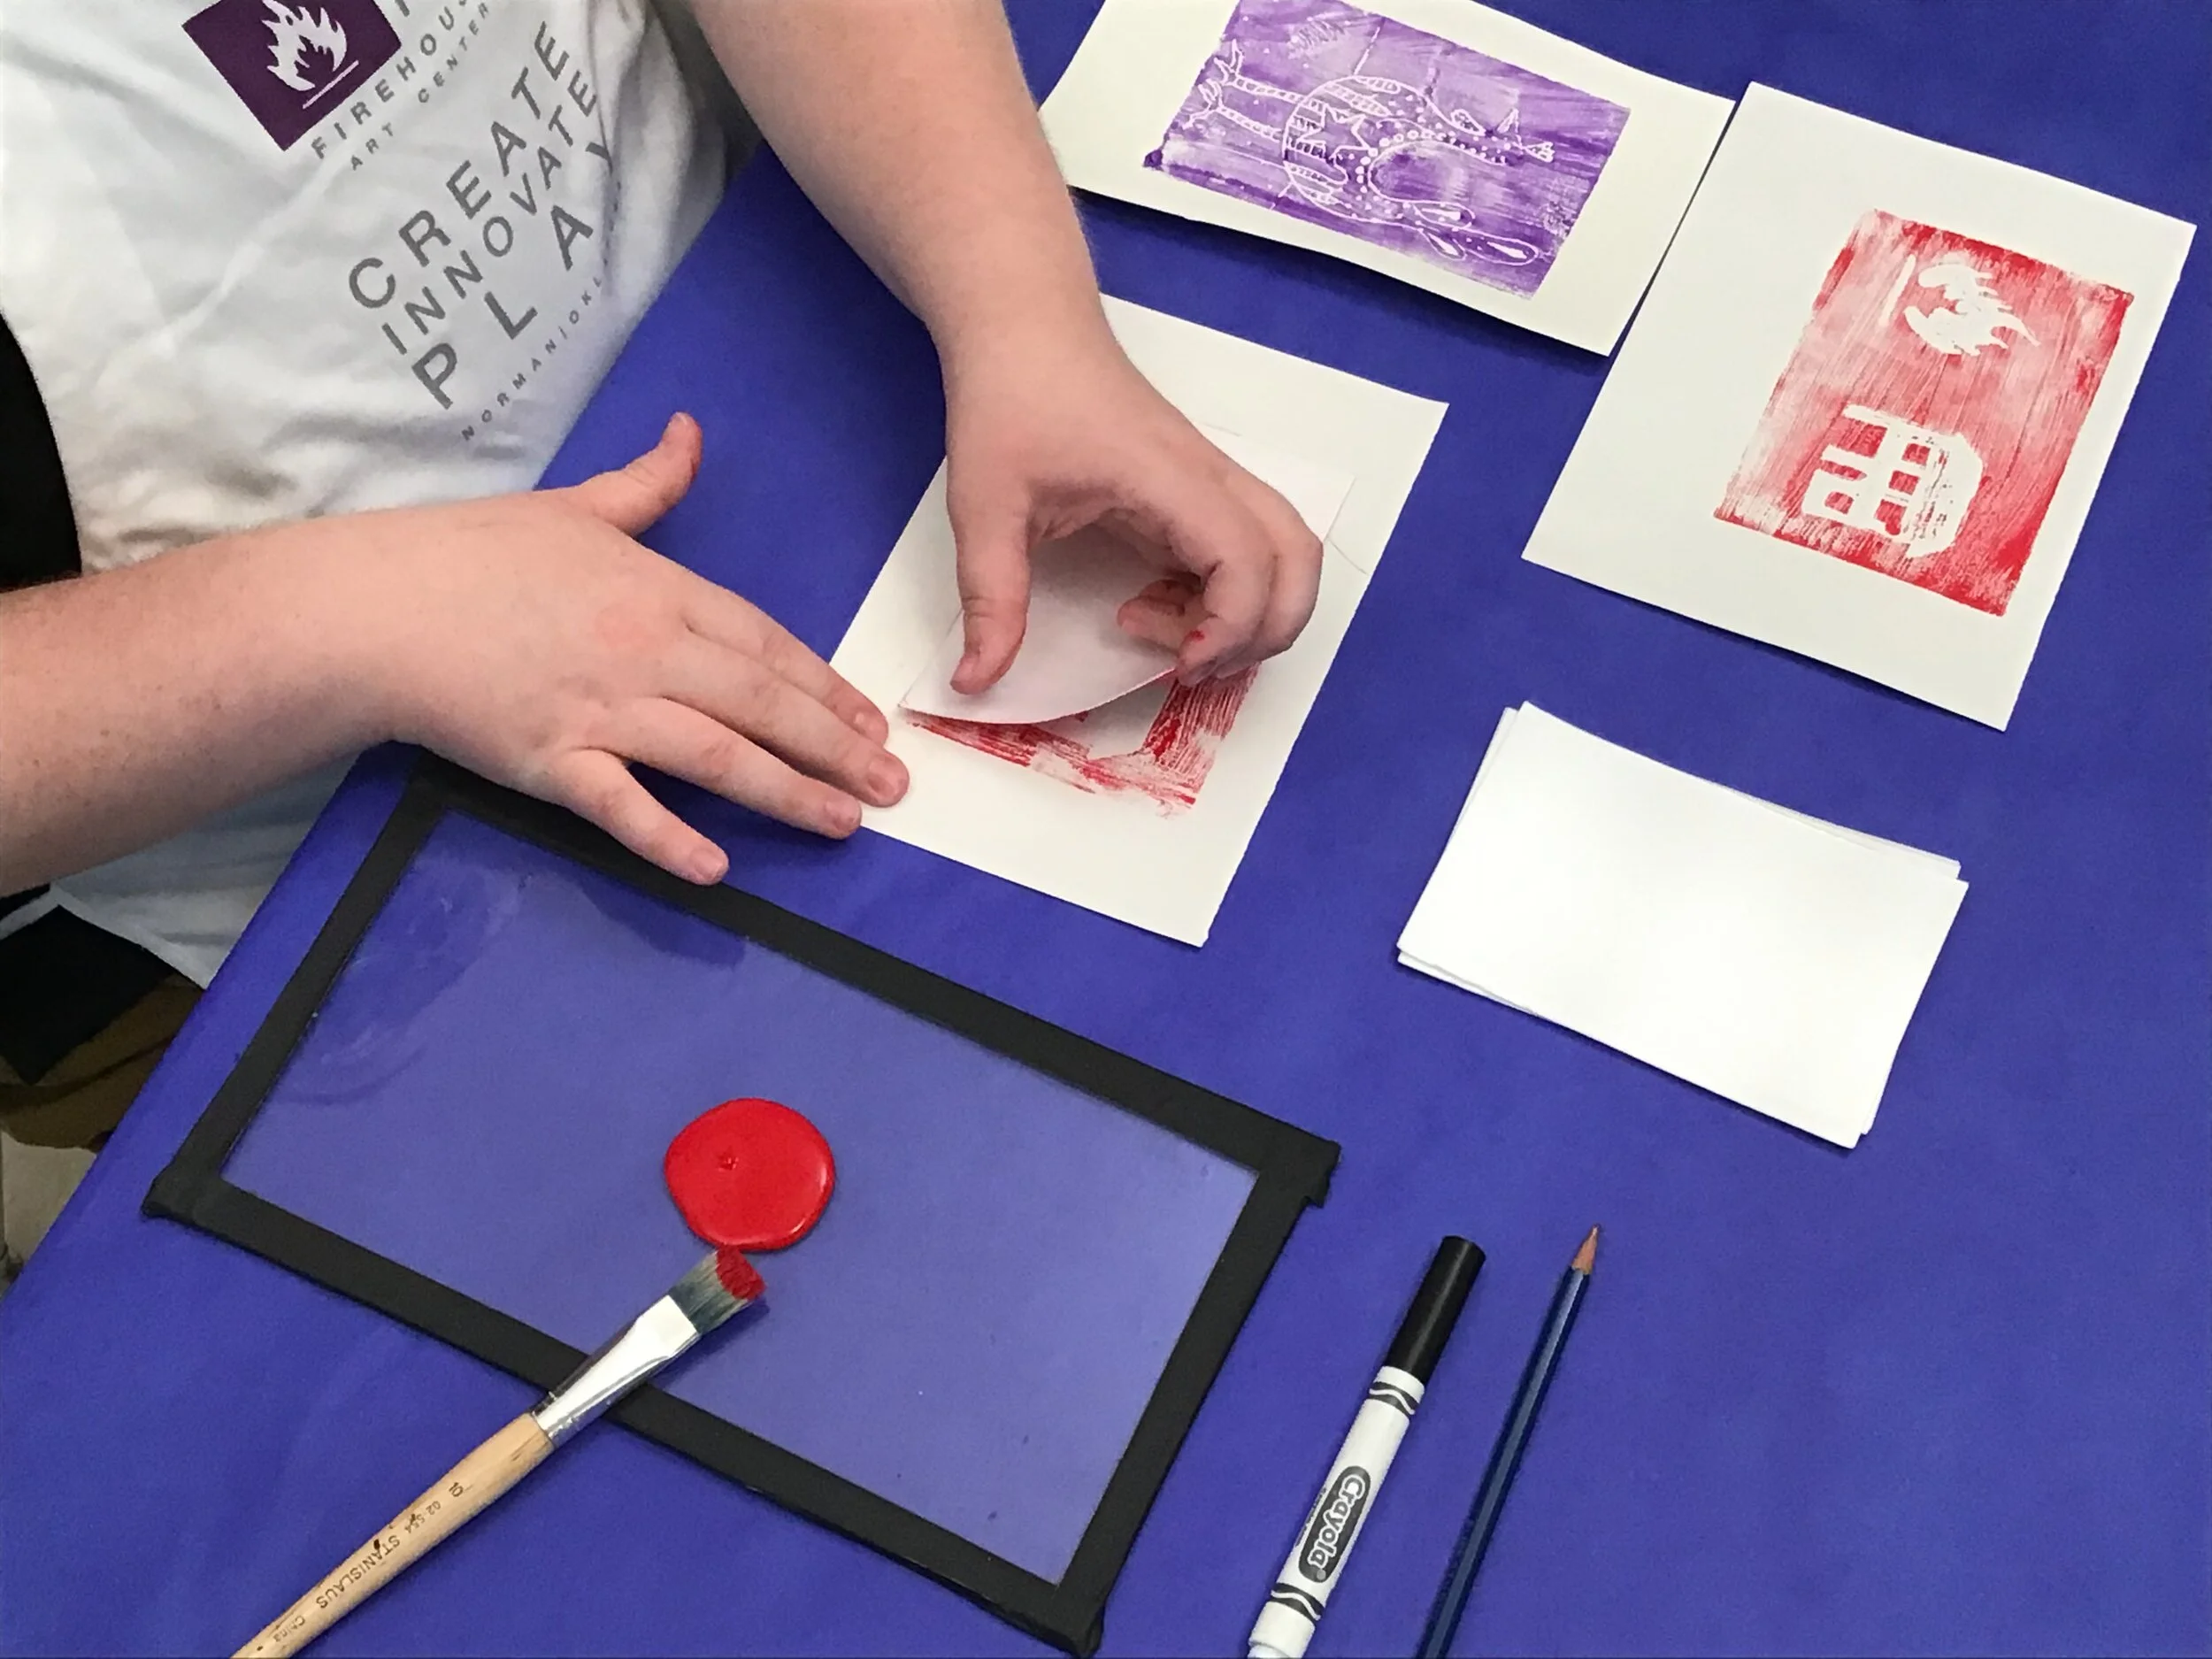
Step 4
Remove the taped border.
Step 5
Align paper with painted area.
Step 6
Press paper into paint using a shoe or other textured found object.
Step 7
Remove paper from paint to reveal your print!
Step 1
Step 2
Step 3
Step 4
Step 5
Step 6
Step 7